
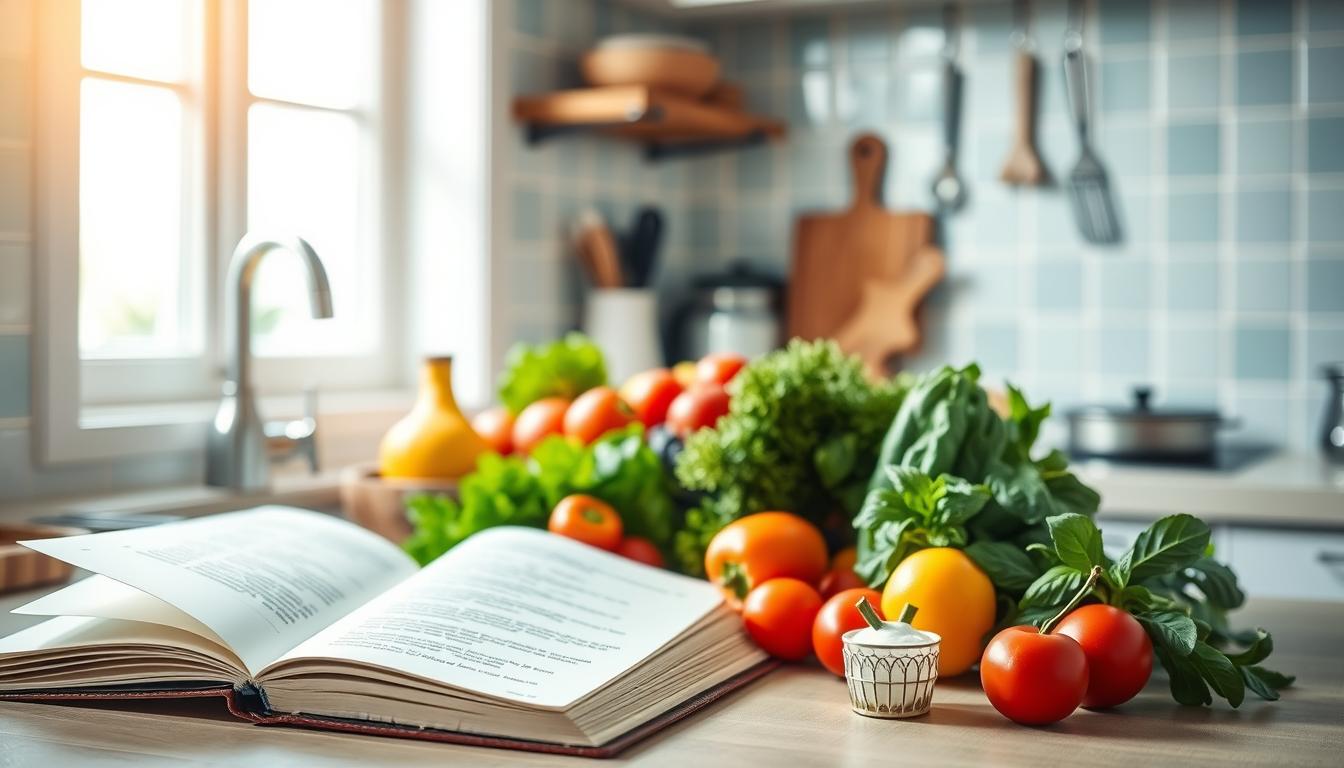
Welcome to your ultimate guide to mastering recipes tutorials! Whether you’re a kitchen novice or looking to refine your culinary skills, understanding how to follow and adapt recipes is the foundation of becoming a confident home cook. In this comprehensive guide, we’ll walk through everything you need to know to transform basic ingredients into delicious meals that will impress family and friends. From essential kitchen tools to step-by-step instructions for three versatile recipes, you’ll gain the knowledge and confidence to tackle any recipe with ease.
5 Essential Kitchen Tools for Recipe Success
Before diving into recipes tutorials, it’s important to equip your kitchen with the right tools. These five essentials will help you execute recipes with precision and confidence.

- Quality Chef’s Knife: The workhorse of your kitchen. A sharp 8-inch chef’s knife handles everything from chopping vegetables to slicing meat with precision.
- Digital Kitchen Scale: For accurate **mise en place** (ingredient preparation), a scale ensures you’re using exactly the right amount of each ingredient.
- Measuring Cups and Spoons: Essential for both wet and dry ingredients when following recipes tutorials that use volume measurements.
- Mixing Bowls (Various Sizes): A set of nesting bowls gives you flexibility for different recipe components and makes organization easier.
- Reliable Thermometer: Takes the guesswork out of cooking meats, candy-making, and bread baking by providing exact temperature readings.
Free Printable Recipe Cards
Keep your favorite recipes organized with our beautifully designed recipe cards. Perfect for building your personal cookbook!
Understanding Recipe Tutorials
A well-written recipe tutorial is more than just a list of ingredients and basic directions. It guides you through the cooking process with clear instructions, helpful tips, and visual cues that help you achieve consistent results.
Key Components of a Recipe Tutorial
- Ingredient List: Listed in order of use with precise measurements
- Equipment Needed: Special tools or appliances required
- Prep Time and Cook Time: Realistic time estimates
- Step-by-Step Instructions: Clear, sequential directions
- Visual Indicators: Descriptions of how food should look at critical stages
- Troubleshooting Tips: Solutions for common issues
Recipe Terminology Decoded
- Dice: Cut into small, uniform cubes (¼ to ½ inch)
- Sauté: Cook quickly in a small amount of fat
- Fold: Gently combine ingredients without deflating
- Simmer: Cook in liquid just below boiling point
- Deglaze: Add liquid to a hot pan to dissolve food particles
- Rest: Allow food to sit after cooking to redistribute juices

Detailed Tutorial Section: 3 Recipes to Master
Let’s put your knowledge into practice with three versatile recipes that build essential cooking skills. Each recipe includes detailed instructions, helpful tips, and adaptations to make it your own.
Appetizer: Bruschetta with Fresh Tomatoes and Basil

Ingredients:
- 1 baguette, sliced into ½-inch rounds
- 3 tablespoons olive oil, plus more for drizzling
- 3 medium tomatoes, diced
- ¼ cup fresh basil, chopped
- 2 cloves garlic, minced
- 1 tablespoon balsamic vinegar
- Salt and pepper to taste
Instructions:
- Preheat oven to 375°F (190°C).
- Arrange baguette slices on a baking sheet and brush with olive oil.
- Bake for 8-10 minutes until golden and crisp.
- While bread is toasting, combine diced tomatoes, basil, garlic, balsamic vinegar, and 3 tablespoons olive oil in a bowl.
- Season with salt and pepper, then let sit for 10 minutes to allow flavors to meld.
- Top each toasted bread slice with the tomato mixture.
- Drizzle with additional olive oil before serving.
Pro Chef Tip: For the best flavor, make the tomato mixture at least 30 minutes ahead of time. This allows the salt to draw moisture from the tomatoes and intensify their flavor.
Main Course: Perfect Pan-Seared Chicken Breast

Ingredients:
- 2 boneless, skinless chicken breasts (about 8 oz each)
- 1 tablespoon olive oil
- 1 tablespoon butter
- 2 cloves garlic, smashed
- 2 sprigs fresh thyme
- 1 teaspoon kosher salt
- ½ teaspoon freshly ground black pepper
Instructions:
- Pat chicken breasts dry with paper towels. This is crucial for achieving a good sear.
- Place chicken between two sheets of plastic wrap and gently pound to even thickness (about ¾ inch).
- Season both sides generously with salt and pepper.
- Heat olive oil in a medium skillet over medium-high heat until shimmering.
- Add chicken breasts and cook without moving for 5-7 minutes until golden brown.
- Flip chicken, add butter, garlic, and thyme to the pan.
- Tilt the pan slightly and spoon the butter mixture over the chicken repeatedly for 5-7 minutes.
- Check internal temperature with a thermometer – it should read 165°F (74°C).
- Remove from heat and let rest for 5 minutes before slicing.
Pro Chef Tip: The key to juicy chicken is the resting period. This allows the juices to redistribute throughout the meat instead of running out when you cut into it.
Dessert: Foolproof Chocolate Chip Cookies

Ingredients:
- 2¼ cups all-purpose flour (280g)
- 1 teaspoon baking soda
- 1 teaspoon salt
- 1 cup (2 sticks) unsalted butter, softened
- ¾ cup granulated sugar (150g)
- ¾ cup packed brown sugar (150g)
- 2 large eggs, room temperature
- 2 teaspoons vanilla extract
- 2 cups semi-sweet chocolate chips (340g)
Instructions:
- Preheat oven to 375°F (190°C) and line baking sheets with parchment paper.
- In a medium bowl, whisk together flour, baking soda, and salt. Set aside.
- In a large bowl, beat butter and both sugars until light and fluffy, about 3 minutes.
- Add eggs one at a time, beating well after each addition.
- Stir in vanilla extract.
- Gradually add the flour mixture to the butter mixture, mixing just until combined.
- Fold in chocolate chips by hand using a spatula.
- Drop rounded tablespoons of dough onto prepared baking sheets, spacing 2 inches apart.
- Bake for 9-11 minutes until edges are golden but centers still look slightly underdone.
- Cool on baking sheets for 5 minutes before transferring to wire racks.
Pro Chef Tip: For bakery-style cookies with a perfect texture, chill the dough for at least 24 hours before baking. This allows the flour to fully hydrate and the flavors to develop.
Join Our Cooking Community
Connect with fellow home cooks, share your recipe successes, and get help when you need it. Our supportive community is the perfect place to grow your cooking confidence!
5 Expert Tips for Adapting Recipes to Dietary Restrictions
Cooking for someone with dietary restrictions doesn’t mean sacrificing flavor. These expert tips will help you modify any recipe tutorial to accommodate common dietary needs while maintaining delicious results.

-
Gluten-Free Adaptations
Replace all-purpose flour with a gluten-free blend that contains xanthan gum. For best results, use a 1:1 baking flour specifically formulated for substitution. In recipes where flour is used for thickening (like sauces), cornstarch or arrowroot powder works perfectly.
-
Dairy-Free Alternatives
Substitute cow’s milk with plant-based alternatives like almond, oat, or coconut milk. For butter, use plant-based butter or coconut oil. Nutritional yeast can provide a cheesy flavor in savory dishes without using actual cheese.
-
Vegan Egg Replacements
For binding, use 1 tablespoon ground flaxseed mixed with 3 tablespoons water per egg. For leavening, ¼ cup applesauce or mashed banana works well. Aquafaba (the liquid from canned chickpeas) is excellent for meringues and light baked goods.
-
Reducing Sugar Content
You can typically reduce sugar by up to 25% without significantly affecting texture. For deeper sweetness with less sugar, add vanilla extract, cinnamon, or nutmeg. Natural sweeteners like mashed bananas or unsweetened applesauce can replace some sugar in baking.
-
Low-Sodium Cooking
Enhance flavor without salt by using acids (lemon juice, vinegar), fresh herbs, and spice blends without added salt. Rinse canned beans and vegetables to reduce sodium content. Use low-sodium broths as the base for soups and stews.
Remember: When adapting recipes for dietary restrictions, it may take a few attempts to perfect the substitutions. Take notes on what works and what doesn’t to build your own reference guide for future cooking.
How to Read and Interpret Recipe Tutorials
Understanding how to properly read a recipe tutorial is the first step to cooking success. This skill helps you prepare efficiently and avoid common mistakes.
Before You Start Cooking
- Read the entire recipe from start to finish before beginning
- Check for specialized equipment you might need
- Note any advance preparation like marinating or chilling
- Verify cooking temperatures and times for your specific appliances
- Prepare your **mise en place** (all ingredients measured and ready)
Common Recipe Abbreviations
- tsp = teaspoon
- tbsp = tablespoon
- c = cup
- oz = ounce
- lb = pound
- g = gram
- ml = milliliter
- L = liter

Troubleshooting Common Recipe Problems
Even experienced cooks encounter challenges when following recipes. Here are solutions to common issues you might face during your cooking journey.
Why did my baked goods sink in the middle?
This usually happens when the oven temperature is too high, causing the outside to set before the inside is cooked. Other causes include opening the oven door too early in the baking process, overmixing the batter, or using expired leavening agents like baking powder.
Why is my sauce lumpy?
Lumpy sauces typically result from adding flour or cornstarch directly to hot liquid. To prevent this, make a slurry (mix thickener with cold water) before adding to the hot liquid, or use a roux (cooked mixture of fat and flour) as your base.
Why is my meat tough?
Tough meat usually results from overcooking or using the wrong cooking method for that cut. Lean cuts need quick cooking at high heat, while tougher cuts with more connective tissue benefit from low, slow cooking methods like braising.
Why didn’t my dough rise?
If your yeast dough didn’t rise, check if your yeast was fresh and active. The liquid used to bloom the yeast should be warm (105-115°F/40-46°C), not hot. Also, dough needs a warm environment to rise properly – cold rooms can significantly slow the process.

Never Miss a New Recipe Tutorial
Join our community of 50,000+ home cooks who receive weekly recipe tutorials, cooking tips, and exclusive content.
Your Recipe Tutorial Journey Begins
Mastering recipes tutorials is a lifelong adventure that gets more rewarding with each dish you create. Remember that even professional chefs were once beginners, and every cooking mistake is an opportunity to learn and improve. Start with simple recipes that build your confidence, then gradually challenge yourself with new techniques and ingredients.
The most important ingredient in any recipe is patience – with both the cooking process and yourself. Don’t be afraid to experiment and adapt recipes to suit your taste preferences and dietary needs. Your kitchen is your laboratory, and cooking is both a science and an art.
We hope this recipes tutorial guide has given you the confidence to tackle new culinary challenges. Whether you’re cooking for yourself, your family, or entertaining friends, the skills you’ve learned here will help you create delicious meals that bring people together. Happy cooking!

